Rushing the Rhubarb Season

The daffodils have just emerged and so have the rhubarb leaves in my back yard. Since the stalks are still too small to harvest, I cheated and bought a few from the supermarket. Then I tried to find a family recipe. Nothing! Rhubarb does grow in Virginia and West Virginia, but I suspect nobody liked its stringy sourness.
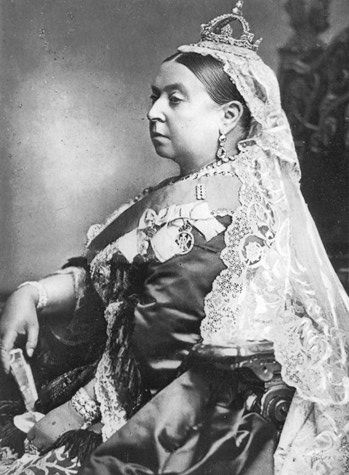
Queen Victoria

Queen Victoria

Rhubarb, a member of the buckwheat family, actually originated in China, where it was used as a medicine. Cultivation spread into Europe, and rhubarb became all the rage in England when Queen Victoria’s coronation in 1837 inspired a commemorative variety known as Victoria rhubarb. A Maine gardener imported rhubarb to the U.S. sometime around 1800 and introduced it to growers in Massachusetts, according to The Rhubarb Compendium, an on-line resource for all things rhubarb. Maybe that explains why rhubarb pie often heralds spring in New England and why rhubarb is often called the “pie plant.”

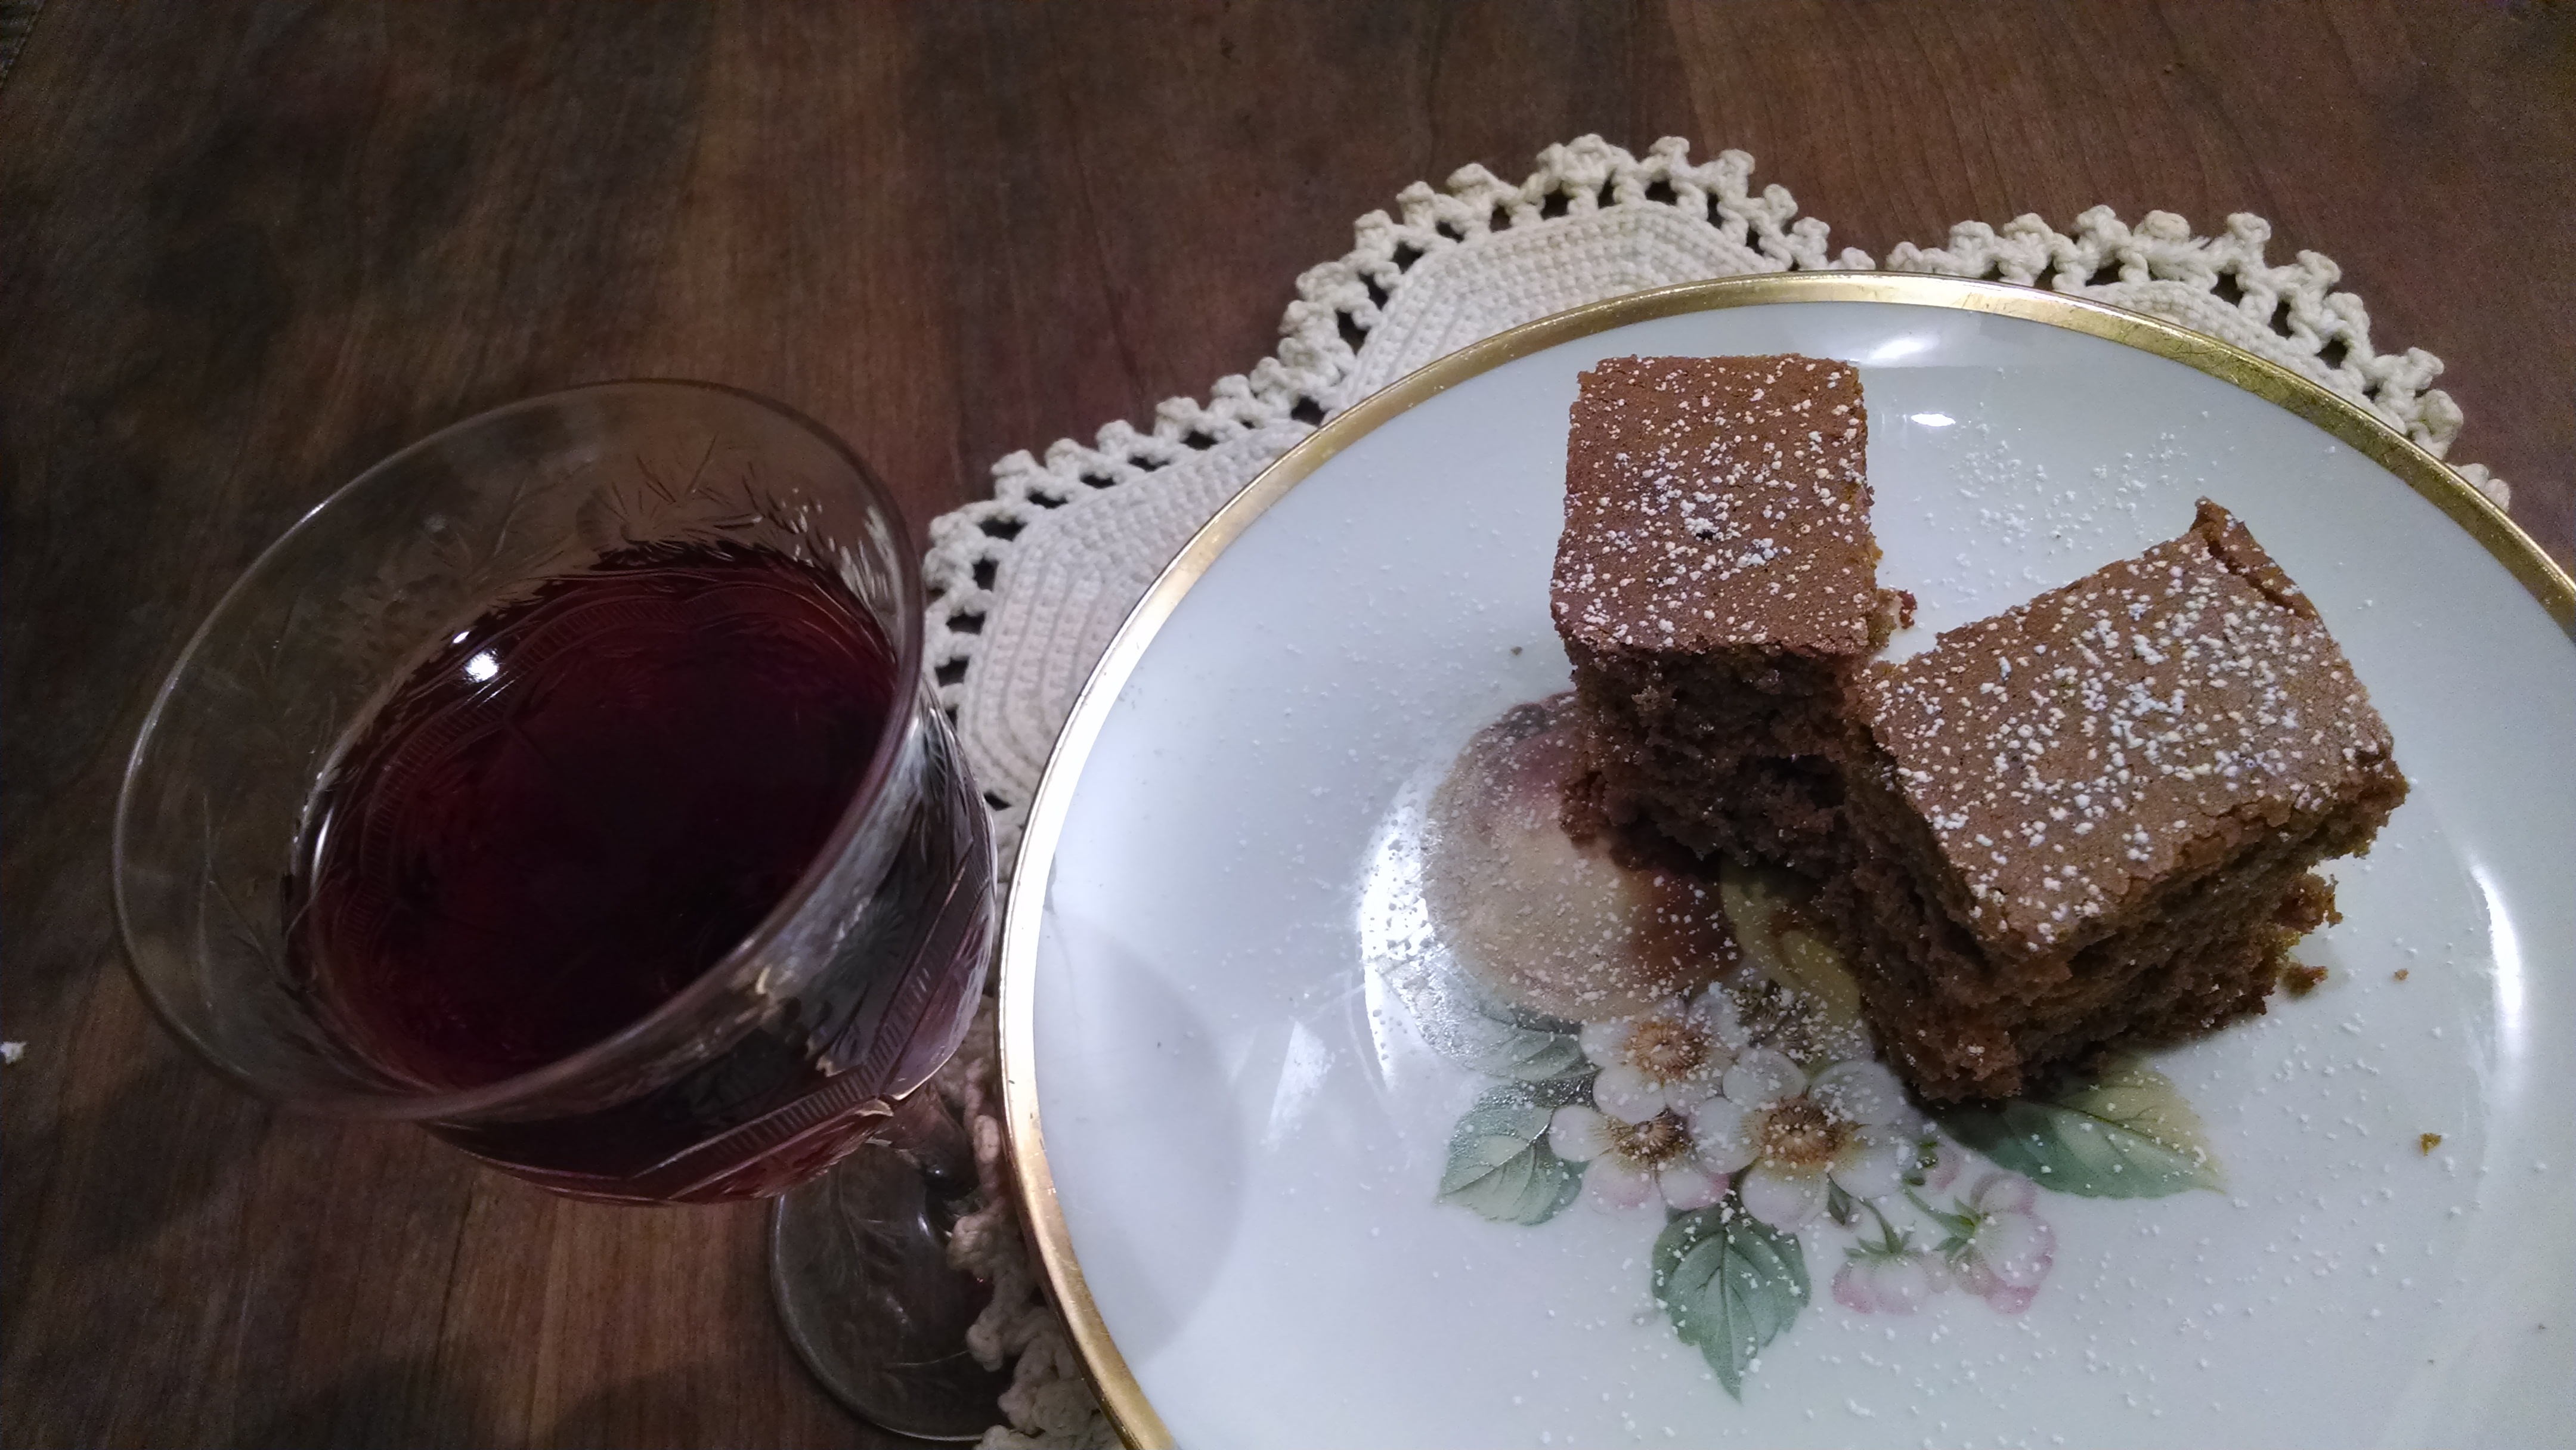
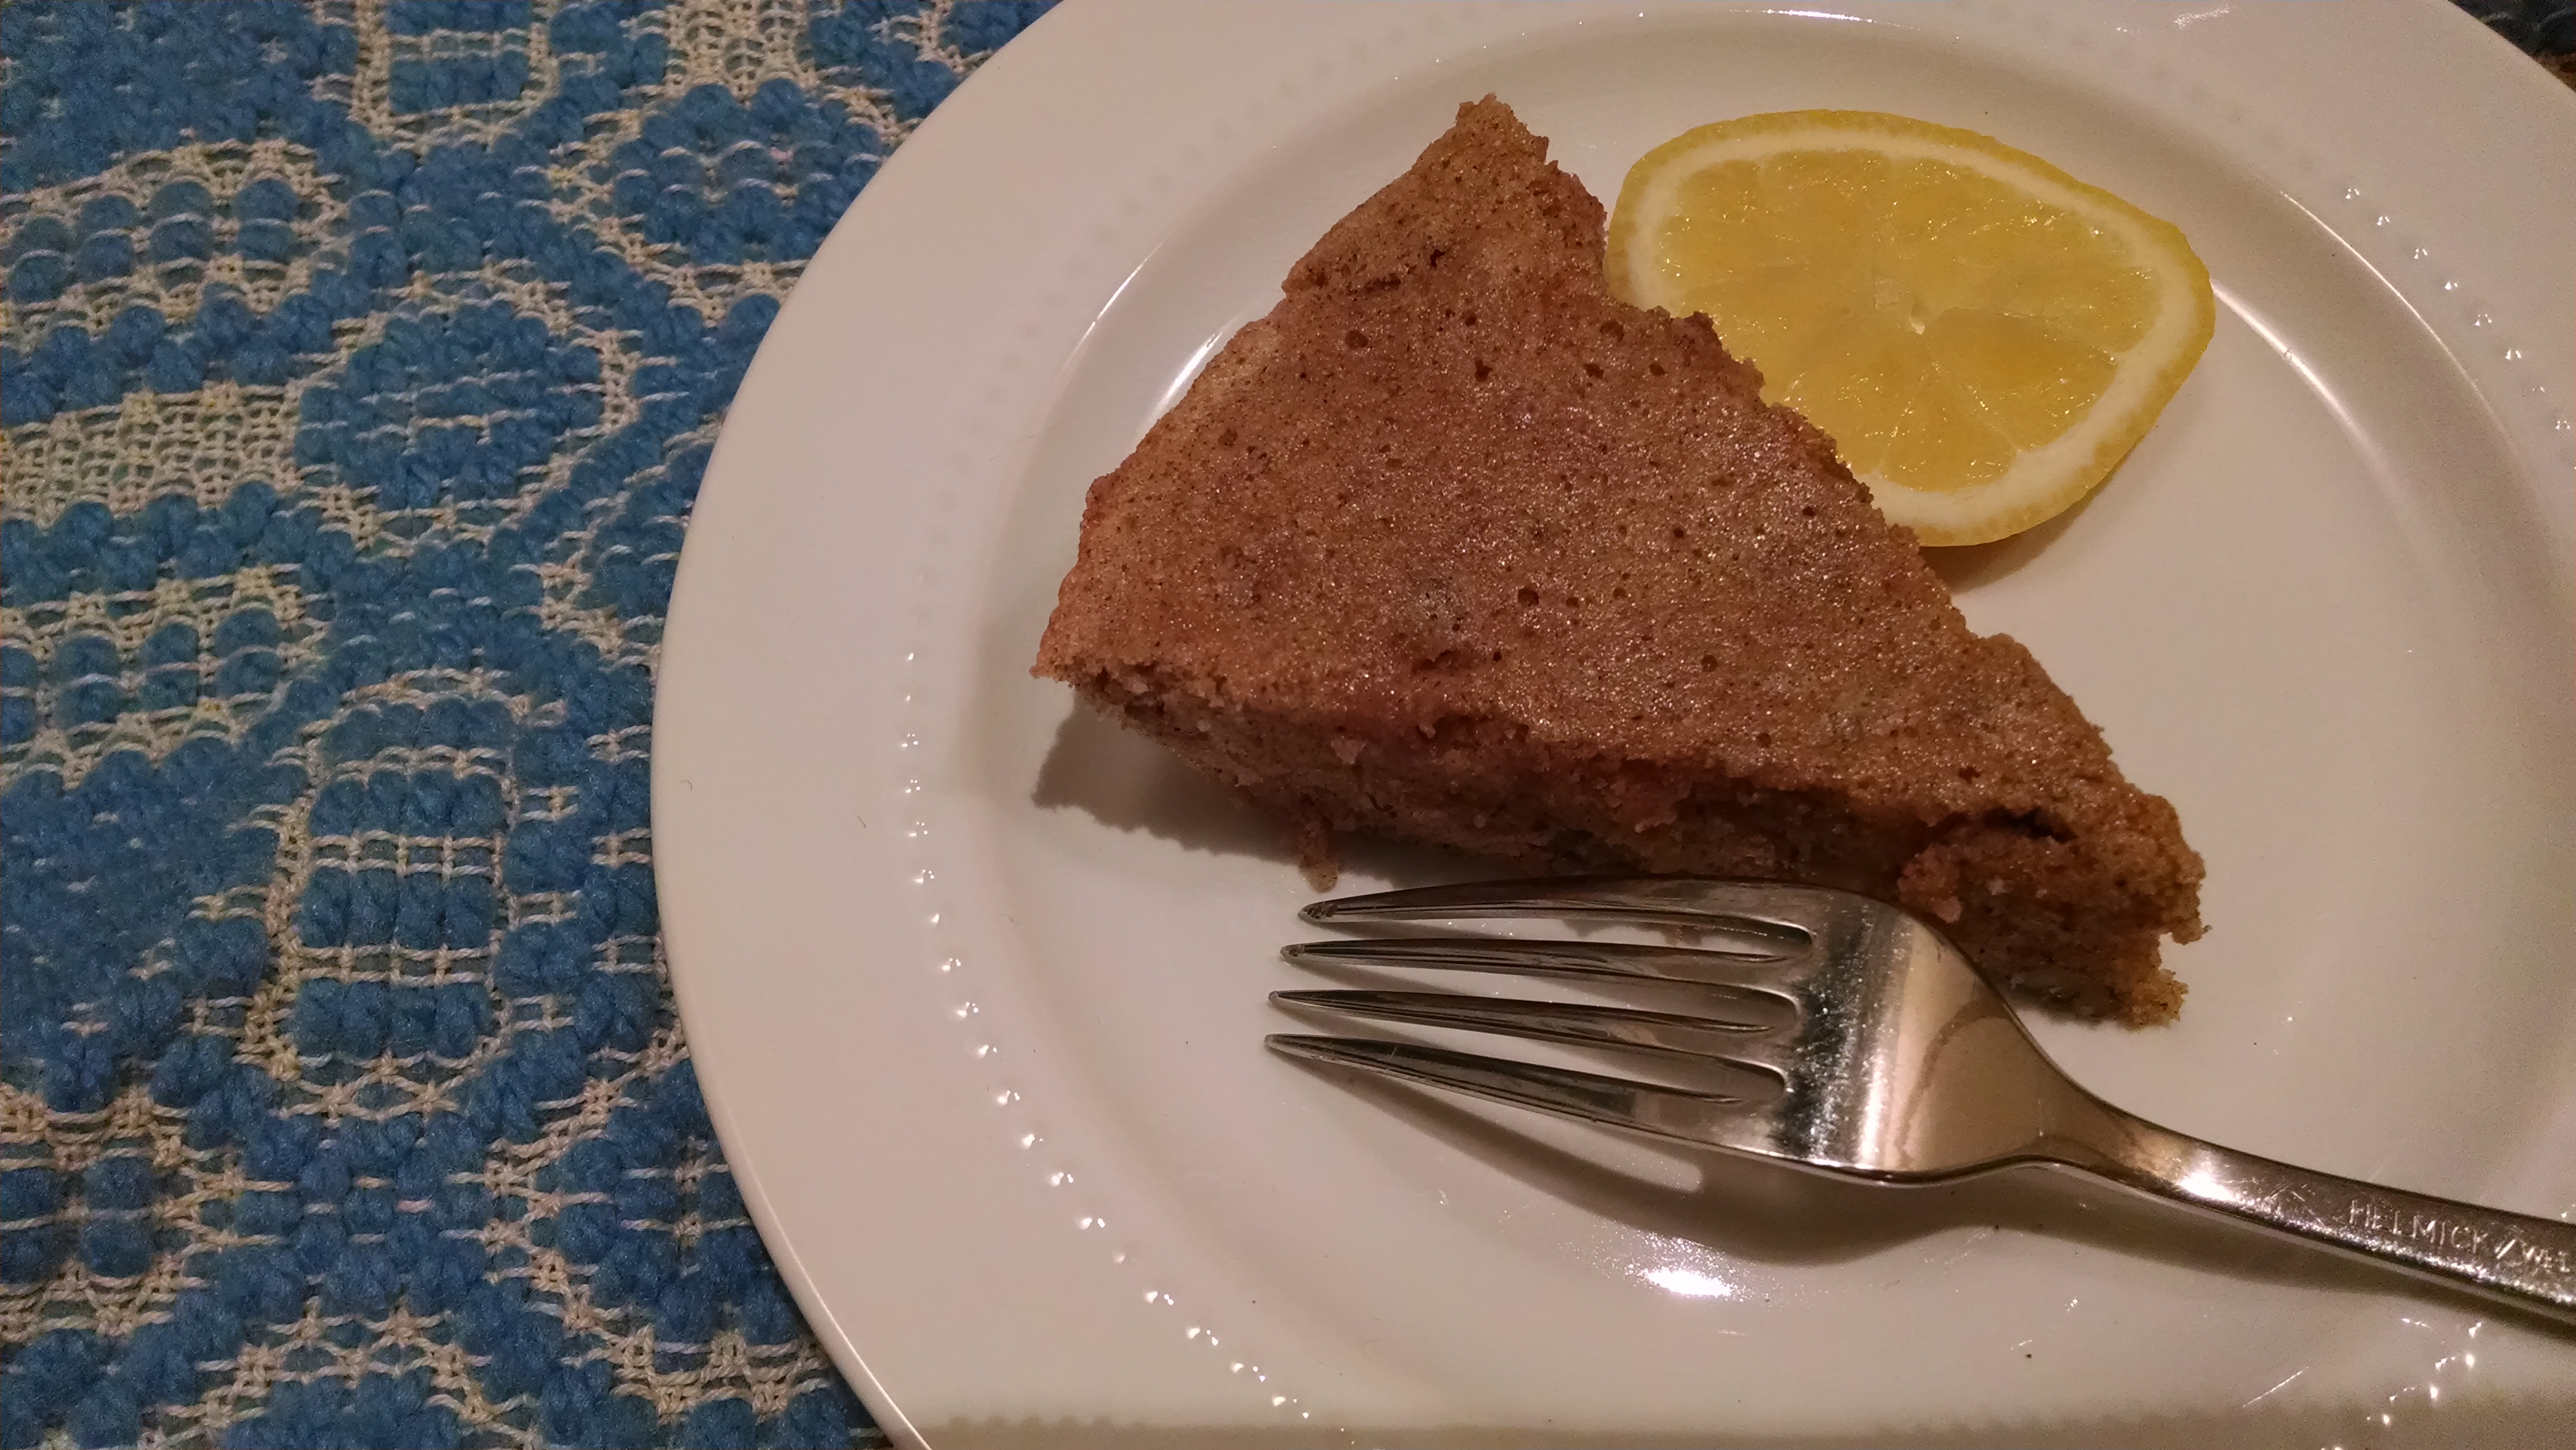
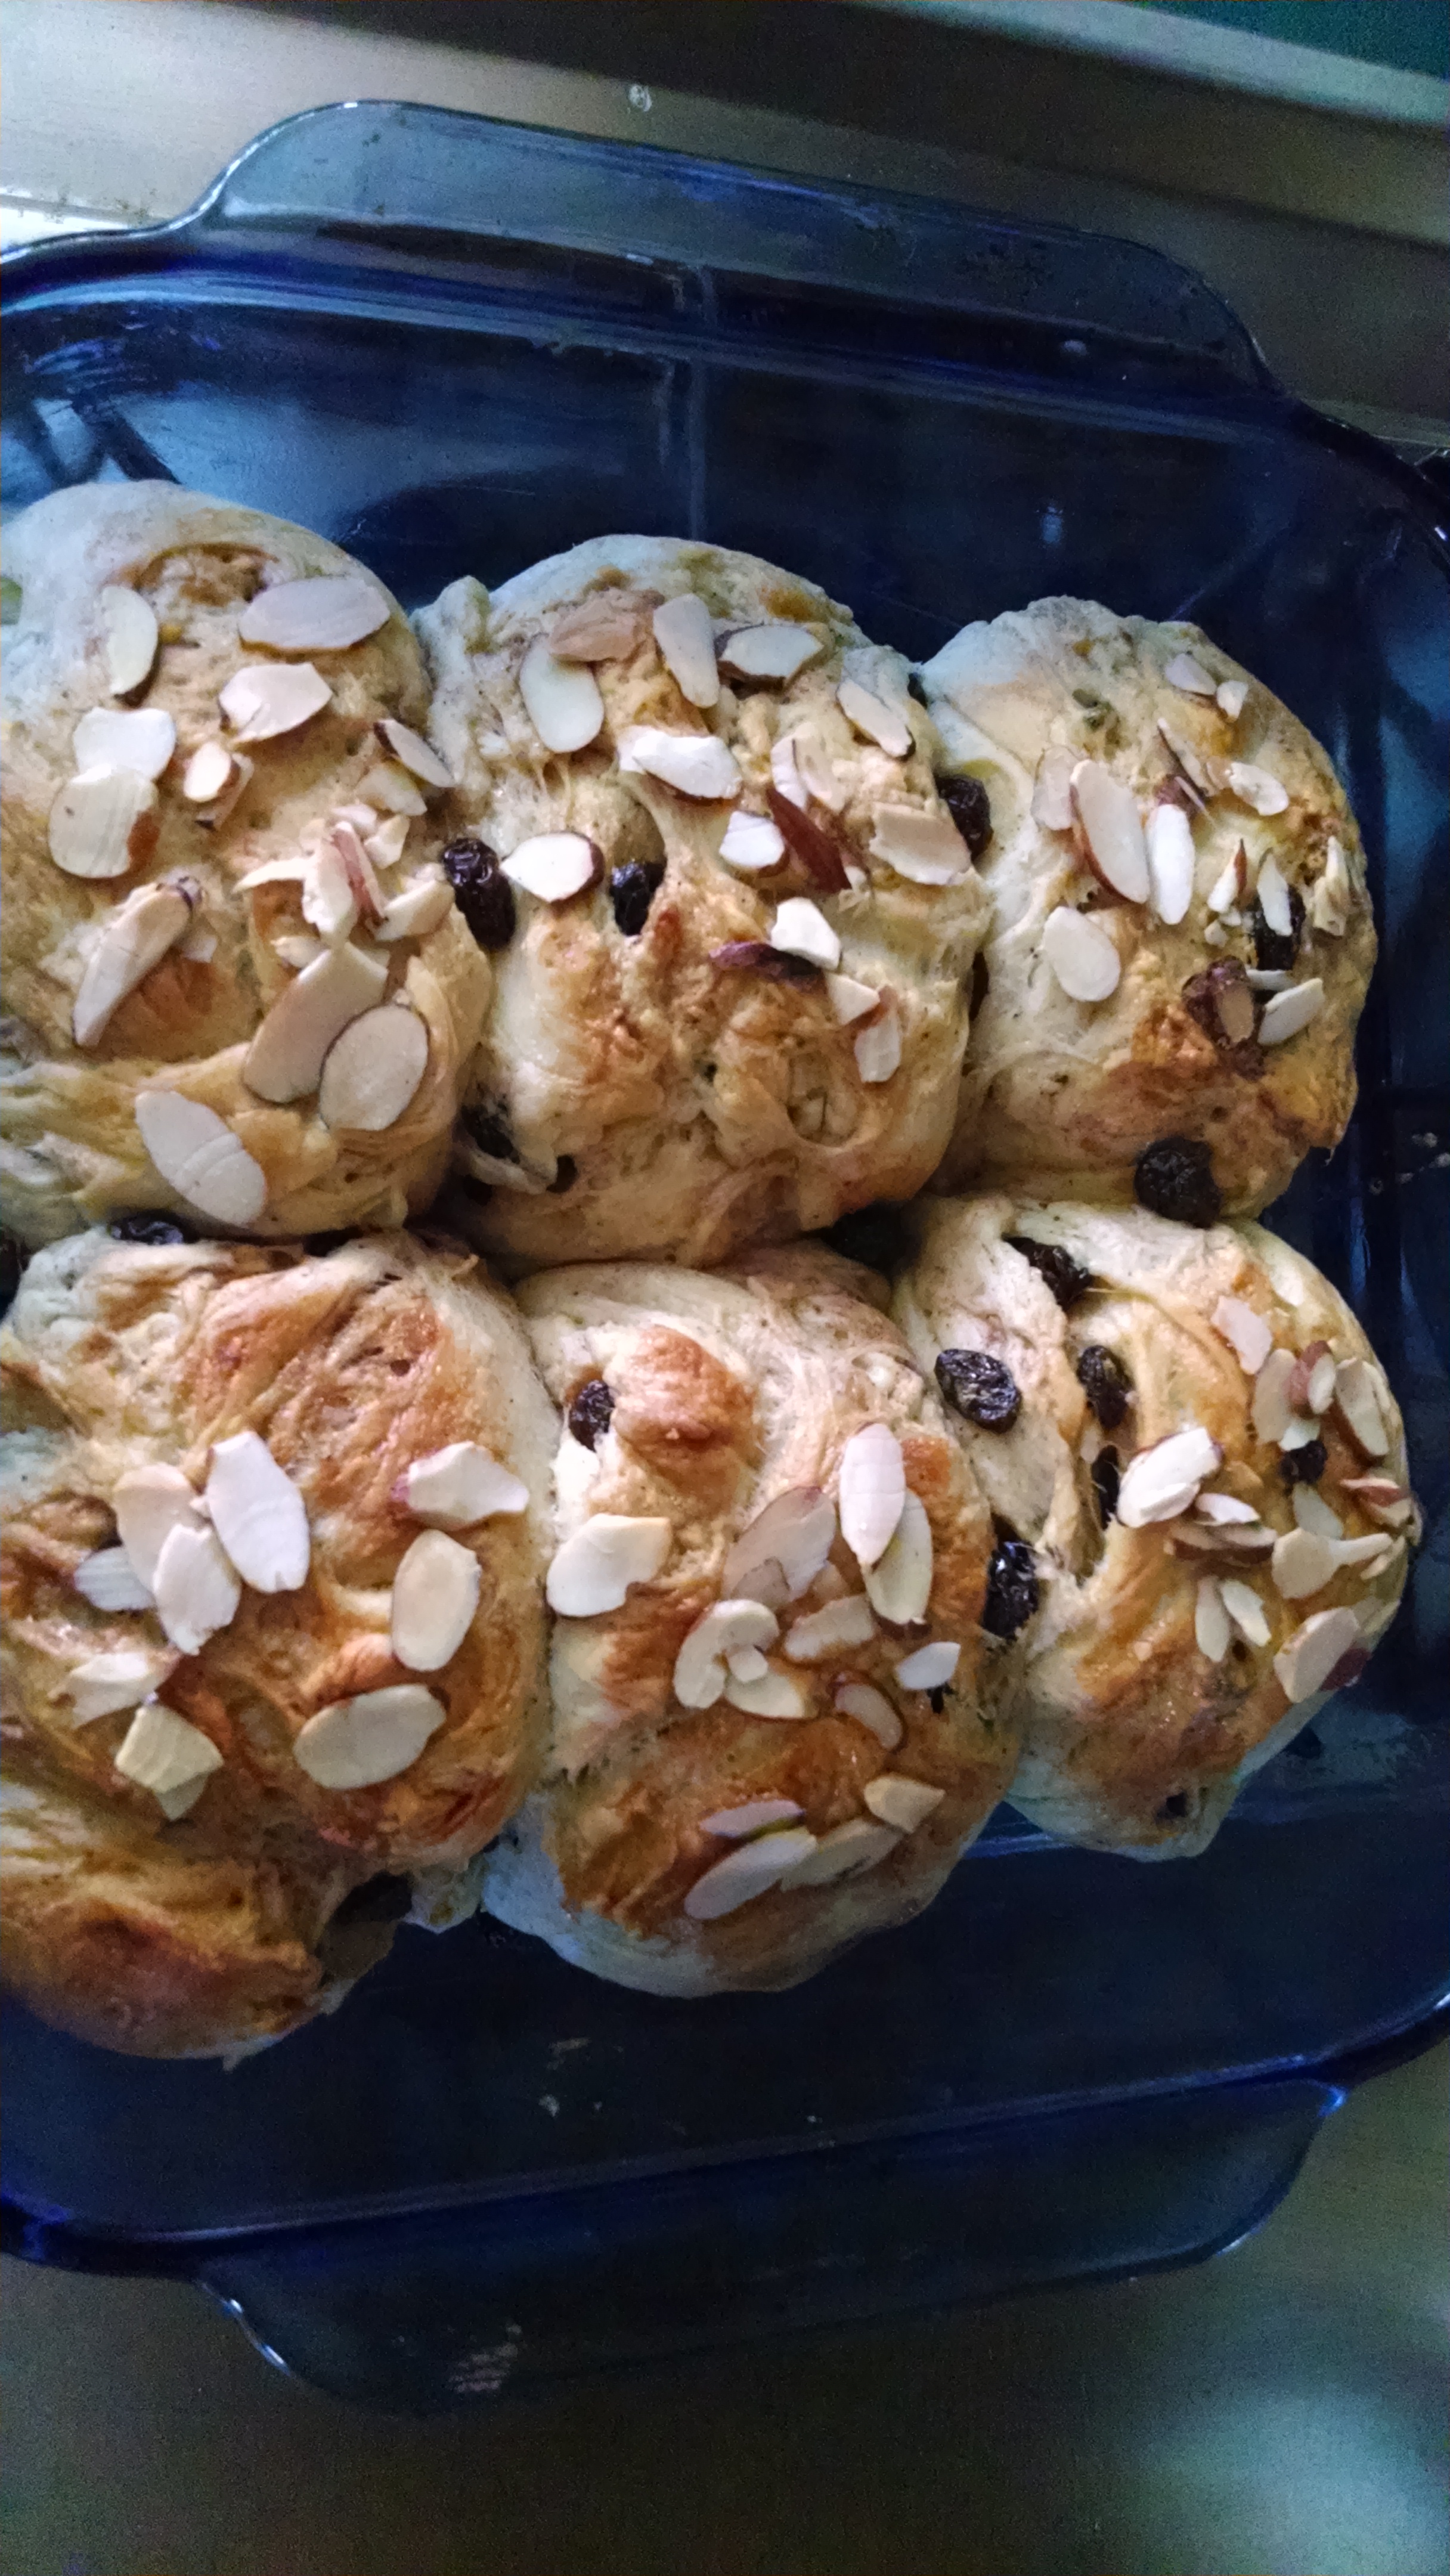
Since making pie seemed like too much work this week, I adapted a sauce from a pamphlet from Indiana titled Old Fashioned Bread Puddings by adding orange juice and fresh ginger to a basic recipe. The sauce would certainly go well with bread pudding, ice cream, or even plain yogurt. I simply ate it plain as an astringent chaser to all my carbs!

Rhubarb 1
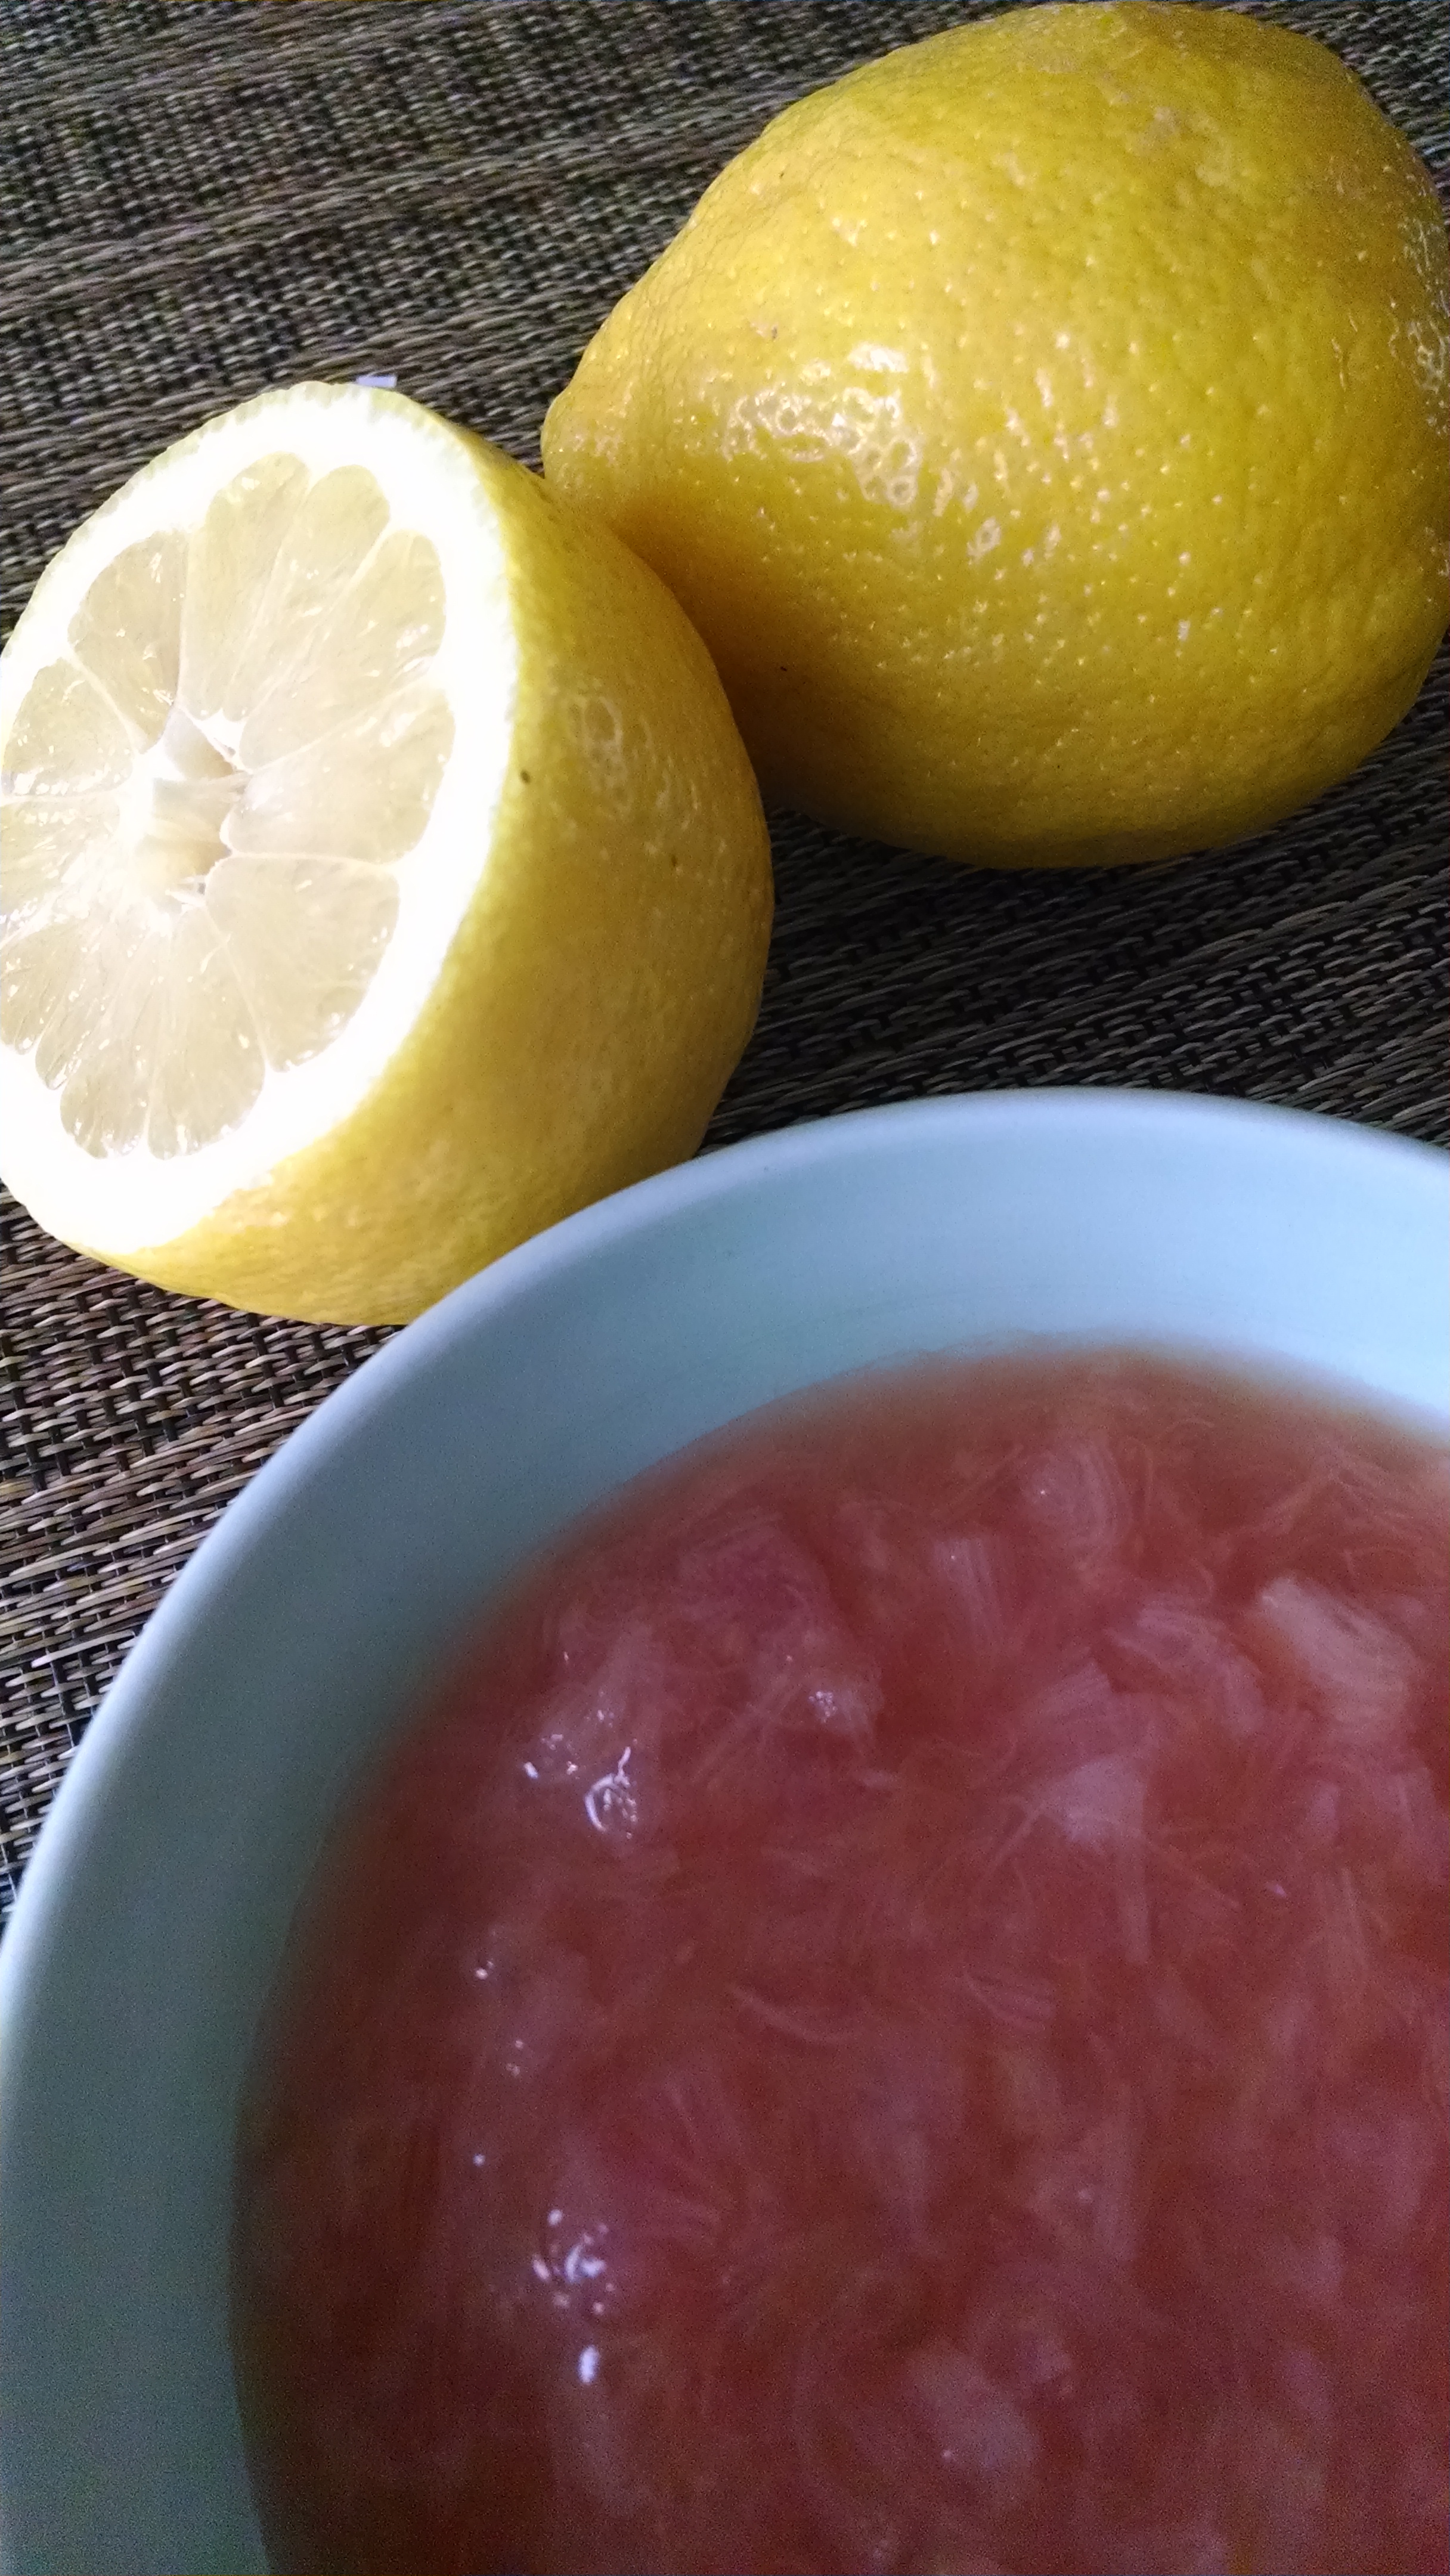
Old-Fashioned Rhubarb Sauce

Makes about 3 cups

3 1/2 cups 1/4 inch-slices of rhubarb stalks
1/4 cup orange juice
1-inch piece fresh ginger, peeled and grated
3/4 cup sugar (more to taste – I like my sauce fairly tart)
1 tablespoon lemon juice

  1. Place the rhubarb, orange juice and ginger in a saucepan. Bring to a boil, then lower the heat to a simmer.
  2. Cook 15-20 minutes, stirring frequently, until the rhubarb is tender.
  3. Stir in the sugar and lemon juice and simmer until the sugar dissolves, about 5 minutes.
  4. Let cool before serving. It will thicken as it cools.
Posted in cookbooks, Food, History | Tagged , , , , , | Leave a comment

Matzo in the Mountains in Charleston, West Virginia

Passover Cake 2

My great-grandfather, A.P. Silverstein, an immigrant from Lithuania, traveled through the central United States as a peddler in the 1890s. As family legend goes, his horse dropped dead and he couldn’t afford another, so he stayed in West Virginia. He married and raised five children in Charleston. We know he started a scrap iron business, but he may have also operated a general store in Charleston named A.P. Silverstein & Son. A 1916 post card for sale on eBay shows that the store advertised the medicinal roots ginseng for $6 and yellow root for $4. Also for sale: lady slipper, wild ginger, blood root, may apple, unwashed wool or tub-washed wool (no burrs), beeswax, and beef hides.

Jewish peddler in Charleston WVA

This Jewish peddler in Charleston from the documentary “Righteous Remnant” shows the kind of work that my great-grandfather did.

I’m not sure how Jewish products such as matzo made their way into the West Virginia mountains. Keeping kosher in West Virginia was likely out of the question, as there was no butcher or other source of kosher products. The closest large Jewish community lived in Cincinnati, so maybe a few non-perishable goods arrived by horse and cart. Or maybe people mail-ordered matzo and other Passover supplies from Baltimore, as my grandmother’s North Carolina family did.

As I made this recipe from my grandmother, Bertie, I wondered whether she had to make her own matzo meal by pounding sheets of matzo with a rolling pin, or whether the cake meal arrived in a tin with a lid, as it does today. The recipe certainly shows adaptation to her surroundings. The whiskey on the ingredient list contains grain, so it would not be kosher for Passover, but she does list lemon juice as a substitute. I think you could also substitute more traditional Slivovitz, or even the ceremonial grape wine that tastes like cough syrup. Whatever you choose, the liquor and the spices hide the taste of the matzo, making this cake a keeper in my Passover recipe collection. It’s very plain looking, so fresh fruit would make a nice garnish. Just don’t reach for a box of confectioner’s sugar, as it contains corn starch.

Passover Cake 3 Matzo Spice Cake from Charleston (circa 1930) Serves 6

5 eggs, separated
1 cup sugar
1 wineglass whiskey or 1/2 wineglass lemon juice (I used 1/3 cup whiskey)
1/2 cup matzo cake meal
1 teaspoon cinnamon
1/2 teaspoon allspice
1/2 teaspoon cloves
1 cup chopped nuts (I used pecans)

  1.      Preheat the oven to 350 degrees. Butter an 8 to 9 inch cake pan. (I used a 9 ½ inch glass pan).
  2.      Place the egg yolks in a bowl with the sugar. Stir together until well blended.
  3.      Add the whiskey or lemon juice and stir again until well blended.
  4.      Stir in the matzo meal, cinnamon, allspice and cloves. Then stir in the nuts.
  5.      Whip the egg whites until soft peaks form. Gently fold into the batter.
  6.      Pour into the prepared pan and bake until the center is set and the top springs back lightly when gently pressed down, 20 to 30 minutes depending on the size of your pan.
  7.      Let cool before serving. Sprinkle with powdered sugar Cut into wedges and serve with fresh fruit.
Posted in Food, History, memoir | Tagged , , , , , , | Leave a comment

“Bunns” from the Boston Cook Book of 1883

Image

This week, my quest for retro ways to carbo-load for the modern endeavor of marathon running brought me to the Boston Cook Book of 1883. Its author, Mary J. Lincoln, principal at the Boston School of Cookery, taught cooking as a “household science”. That meant standardized measurements instead of “a lump of butter the size of a walnut,” as previous cookbooks often stated. Her successor, Fannie Farmer, became far more famous for writing The Boston Cooking School Cookbook, first published in 1896.

Image

In her day, Mary J. Lincoln’s fame equaled that of Fannie Farmer. Along with running the school, she Imagelectured to women’s clubs around the country on topics including “economic buying.” How much needlework would it require to stay awake during that one? Mrs. Lincoln was also culinary editor of The American Kitchen Magazine, which seems more like a forerunner to Popular Science than Bon Appetit and other slick variations on the “food, beautiful food” theme. American Kitchen talked about the adulteration of food, the disposal of garbage, and home science in Japan. An essay contest gave readers a choice between writing about the “nutritive value” of bread; home versus public laundries; or income and expenditure from an economic and moral standpoint. Wonder how Martha Stewart would answer that?

I found Mrs. Lincoln’s recipe for “Bunns” a lot more appealing than her magazine topics, and a step forward from lumps of butter, but not too scientific. It doesn’t suggest how long to let the dough rise or how to make a glaze with sugar and milk. Just before baking, when I tried to cut each bun on top to make the hot cross buns, the dough simply sprang back into place. I decided to use an egg white-sugar glaze and slivered almonds instead. Nobody was the wiser that these were NOT cross buns. I guess a Jewish girl should know better than to expect immediate success with a traditional recipe for Lent, no matter how scientific it claims to be. Here is the recipe as I adapted it to include rising and baking times. I also changed “saltspoonful” to teaspoon.

Image


Boston Cooking School “Bunns” (1883)

Makes 6 buns

1 cup milk, scalded and cooled to about 110 degrees F
2 tablespoons sugar
1 egg
1 teaspoon salt
1 package active dry yeast
2 cups flour, plus additional as needed
1/4 cup butter, softened
1/2 cup currants or raisins
1 teaspoon nutmeg or cinnamon, or a mixture
1 egg white
1/4 cup slivered almonds

  1. Place the milk in a mixing bowl. In a separate bowl, beat together the egg and 1 tablespoon of the sugar, and add to the milk.
  2. Sprinkle the yeast on top of the milk mixture, mix with a fork, then let stand until the yeast is foamy, 5-10 minutes.
  3. Add the flour and salt. Mix together with a wooden spoon or your hands until all the flour is incorporated. Cover the bowl with a clean dishtowel and let it sit overnight.
  4. In the morning, sprinkle a countertop or other work surface with flour. Turn out the dough and begin kneading, adding flour a little at a time to make a stiff dough. Continue kneading for 15 minutes, adding a little more flour at a time as needed to keep the dough smooth and elastic.
  5. Pour a little vegetable oil into a clean mixing bowl, put the dough into the bowl, and flip it so the oil coats both sides of the dough. Cover with the dishtowel and let rise until light, about 2 hours.
  6. Punch down the dough. Knead in the butter, currants, and cinnamon or nutmeg until well incorporated. Place the dough in a clean, lightly oiled bowl as in Step 5, cover, and let rise 1-2 hours more.
  7. Butter an 8-by-8-inch baking pan. Divide the dough into six equal pieces and shape each one into individual rolls. Place each roll in the baking pan, lined up in two even rows with a bit of space in between. Cover the pan and let rise 45 minutes.
  8. Heat the oven to 350 degrees. In a small bowl using a fork or a whisk, beat together the egg white and the remaining tablespoon of sugar. Brush the egg white mixture over the tops of the rolls and sprinkle with almonds.
  9. Bake until golden brown on top, about 35 minutes. Serve warm with jam and butter.
Posted in cookbooks, Food, History | Tagged , , , , , , | Leave a comment

Curry: Bombay Meets Dixie and Becomes a Roosevelt Favorite

Image

My grandmother, Hanna, collected quite a few chicken curry recipes, a surprisingly exotic departure from her preference for plain food. I don’t remember meeting anyone from India while I was growing up in Richmond, but Indian food was nonetheless popular in the American South. In the 18th and 19th centuries, Indian spices carried a high-class cachet because they had to be imported via England and the Caribbean, according to Curry: A Global History by Colleen Taylor Sen. The Virginia Housewife, first published in 1824, contains a recipe for chicken curry “after the East Indian manner” and Curry of Catfish.

Country Captain chicken became a Southern sensation in the 19th century. In some stories, it was created by a British sea captain in the India trade who docked in either Charleston, South Carolina or Savannah, Georgia (or both). In others, the “captain” refers to an Indian native who worked for the British army and taught sailors the recipe. Country Captain recipes vary, too, but basically call for chicken simmered with tomatoes, onions and curry powder, then garnished with currants or raisins and almonds and served over rice.

Image
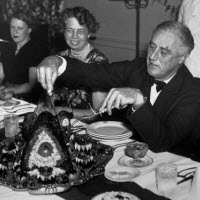
President Franklin D. Roosevelt became a devotee after tasting this dish at Warm Springs, Georgia in the 1920s. So did his guest, General George S. Patton, who also ordered it near Fort Benning, Georgia. This dish spread north to Delmonico’s restaurant in New York in the early 20th century. James Beard, legendary cookbook author in New York from the 1940s until his death in 1985, also made it. This recipe from the New York Times in 2009 shows its continued popularity outside of the South. 

My grandmother’s recipe, though not Country Captain, seems to fit right into the tradition of curry in the South. Her version calls for fruit instead of vegetables but it does hark back to the pre-global marketplace days when curry was considered exotic. “Excellent,” she wrote on the recipe card with the date September, 1965, so she must have liked it. So did I. The combination of fruit and with fowl seems a bit out of favor right now, so I was glad to rediscover it.

Image

Hanna’s Curried Chicken (1965)

Serves 6

1 (approximately 3 pound) cooked chicken, cut into approximately 1-inch pieces

5 tablespoons butter

1 small onion, diced

1/2 teaspoon cinnamon

1 tablespoon curry powder (or more to taste)

3 tablespoons flour

2 1/2 cups chicken stock

1/2 cup chopped apple

1/2 cup raisins

1 8-ounce can pineapple tidbits or crushed pineapple with some of the juice (I used 2 tablespoons of juice)

1 tablespoon brown sugar

1/2 teaspoon black pepper

Salt, to taste

Seedless grapes, for garnish

  1. Heat 2 tablespoons of the butter in a large skillet over medium heat. Add the onion and saute until translucent. Sprinkle with curry powder and cinnamon and stir it in. Add the chicken and brown lightly. Scrape everything out of the skillet and set it aside in a bowl.
  2. Add the remaining 3 tablespoons of butter to the skillet and let it melt over medium heat. Stir in the flour and continue stirring until it is smooth, making a roux.
  3. Whisk in the chicken stock, continuing to whisk until the liquid is thickened and smooth.
  4.  Add the apples, raisins, pineapple, and sugar. Simmer 15 minutes.
  5.  Add the chicken and onions and heat through, about 5 minutes more.
  6.  Serve with rice and garnish with grapes.


Posted in Food | Tagged , , , , , , , , , | 4 Comments

More Carbo-Loading with Dilly Bread from Nebraska via Tennessee

Image

In my recent travels through Tennessee, I picked up the Memphis Cookbook and Confederate Era Recipes. Each pamphlet contained a recipe for “Dilly” Bread, so I thought this was an old Southern tradition. However, a bit of research turned up what seems to be the original “Dilly Bread” recipe. It comes from a different era and another part of the country altogether. The recipe, submitted by Leona Schnuelle of Crab Orchard, Nebraska, was the Pillsbury Bake-Off grand prize winner in 1960.

In an interview with the Associated Press in 1977, Mrs. Schnuelle said that she decided to use cottage cheese because her mother used to put whey left over from cottage cheese into the bread she baked. Since Mrs. Schnuelle had no whey, she decided to use the cottage cheese itself. Eager to win the contest, Mrs. Schnuelle wanted to add another unusual ingredient and grabbed dill seeds from her pantry shelf. Her effort won her $25,000, made her a celebrity at square dances in Crab Orchard, and gave her bread lasting fame – but not dating back to the Civil War era.

For a change from my usual breakfast bagels or English muffins, I made a batch of Dilly Bread. It needs to rise twice, so it took all morning, but the batter came together quickly and required no kneading. I could not find dill seed at the two supermarkets I visited so I bought a jar of dried dill weed and used that instead with fine results. Tomorrow I’ll cut a fat slice to fuel my 10-mile run.

Image

Leona Schnuelle tells TV host Art Linkletter all about her Dilly Bread recipe.

Dilly Casserole Bread (1960)

Makes 1 loaf (18 slices)

2 to 2 2/3 cups all-purpose flour, divided

2 tablespoons sugar

2-3 teaspoons instant minced onion

2 teaspoons dill seed

1 teaspoon salt

1/4 teaspoon baking soda

1 package active dry yeast

1/4 cup water

1 tablespoon margarine or butter

1 cup small curd creamed cottage cheese

1 egg

2 teaspoons margarine or butter, melted

1/4 teaspoon coarse salt, if desired

  1. In large bowl, combine 1 cup flour, sugar, onion, dill seed, 1 teaspoon salt, baking soda and yeast; mix well.
  2. In small saucepan, heat water, 1 tablespoon margarine and cottage cheese until very warm (120-130 degrees). Add warm liquid and egg to flour mixture. Blend at low speed until moistened; beat 3 minutes at medium speed.
  3. By hand, stir in remaining 1 to 1 2/3 cups flour to form a stiff batter. Cover loosely with greased plastic wrap and cloth towel. Let rise in warm place (80-85 degrees) until light and doubled in size, 45-60 minutes.
  4. Generously grease a 1 1/2- or 2-quart casserole. Stir down batter to remove all air bubbles. Turn into greased casserole. Cover; let rise in warm place until light and doubled in size, 30-45 minutes.
  5. Heat oven to 350 degrees. Uncover dough. Bake 30-40 minutes or until deep golden brown and loaf sounds hollow when lightly tapped. Remove from casserole; place on wire rack.
  6. Brush warm loaf with melted margarine; sprinkle with coarse salt. Cool 15 minutes. Serve warm or cold.
Posted in Food | Tagged , , , , | 3 Comments

Carbo-Loading: Sweet Potato Biscuits from Dr. George Washington Carver

Since I’m running the Boston Marathon in 2014 to raise money for Newton Community Farm, my neighborhood farm-to-table resource, I’m looking for ways to carbo-load with locally-grown produce. Early March is the nadir of the New England growing season, as stockpiles from the fall harvest dwindle, and spring has not yet sent forth shoots of asparagus and herbs. That leaves just a few options: cold storage apples, potatoes, squash, and root vegetables.

George Washington Carver in lab 2

Botanist Dr. George Washington Carver in his lab.

From this all-too short list, I picked sweet potatoes because they provide complex carbs as well as a mega-dose of Vitamin A (quadruple the recommended daily value), Vitamin C and potassium. For recipe inspiration, I turned to the work of Dr. George Washington Carver (1864-1943), an African-American botanist at Tuskegee Institute in Alabama who researched new ways to use crops including peanuts and sweet potatoes. The Tuskegee web site lists about 40 sweet potato products that Dr. Carver developed, including after dinner mints and mock coconut.

Dr. Carver’s sweet potato biscuit recipe comes from “How the Farmer Can Save His Sweet Potatoes and Ways of Preparing Them for the Table,” Bulletin No. 38 of his 1922 Experiment Station. The text is half the original quantity, with my clarifications in parentheses. The batter proved quite thin, so next time, I’d use less milk. Also, I expected a more assertive sweet potato flavor, but maybe that didn’t matter to a man who also used sweet potatoes in dyes and hog feed. In any case, the biscuits helped fuel me for an 18-mile run, so I guess they served their purpose.

sweet potato biscuits 1

Dr. George Washington Carver’s Sweet Potato Biscuits (1922)

Makes 6 biscuits

1 cup flour
1 teaspoon baking powder
1/2 teaspoon salt
1/2 tablespoon sugar, if desired
1 well-beaten egg
1/2 cup boiled and finely mashed sweet potatoes (from 1 medium potato, see note)
1 cup milk
1 scant tablespoon melted butter or lard

  1. Mix all dry ingredients (flour, baking powder, salt and sugar).
  2. (In a separate bowl), stir into the milk the beaten egg, potatoes, and butter.
  3. (Add the flour mixture to the milk mixture). If too soft, add more flour (I needed about 1/2 cup), sufficient to make a soft dough.
  4. Roll out lightly, cut with a biscuit cutter, and bake at 350 degrees for about 15 minutes.

Note: I baked the sweet potato instead of boiling it. Wash the potato, leaving the skin on, and split it in half lengthwise. Place it cut side down on a baking sheet lined with aluminum foil. Bake at 400 degrees until the potato is soft, about 1/2 hour. When cool enough to handle, squeeze the flesh from the skin and mash it. Discard the skin and proceed with the recipe.

Posted in Food, History | Tagged , , , , , | 1 Comment

Joy on the Menu at Cafe in Asheville, NC

When winter storm Titan ominously blotted out the route my daughter and I recently planned on a road trip from Nashville to Boston, we detoured east into Asheville, North Carolina. Instead of glumly feeling stranded, we enjoyed exploring an artsy mountain town with restaurants that advertised burritos stuffed with tofu and a choice of quinoa or brown rice. I met another mother-daughter pair of travelers on their way to SXSW who chronicled their musical adventures in http://southbysteelcity.com/

Basil apples 1

Near our hotel, I spotted a sign for Laurey’s café. A few years ago, I interviewed owner Laurey Masterson for my book, A White House Garden Cookbook. The book focused on the first season of Michelle Obama’s garden and recipes from the White House, but I also asked chefs around the country about fun ways they encourage children to use garden-grown produce. Laurey told me how a lesson for local schoolchildren in how to make apple tarts took an interesting detour. As the tarts baked, she made a quick batch of pesto with the basil the kids brought from their school garden. “While they liked their tarts, they raved about the pesto,” she said. The children soon spread pesto on slices of fresh apples and devoured this impromptu snack. In a show of hands, the pesto won over the tarts as the favorite food of the outing.

I hoped to thank Laurey in person for contributing to my book, but I was sad to find out she passed away in February after a lengthy battle with cancer. She leaves behind her thriving cafe and shop, The Fresh Honey Cookbook (Storey Publishing, 2013), and the self-published memoir, Elsie’s Biscuits. Laurey’s parents ran the Blueberry Hill Inn in Goshen, Vermont, which is where Laurey grew up and learned how to cook with her mother, Elsie.

Laurey Masterson's motto was "Don't Postpone Joy"

Laurey Masterson’s motto was “Don’t Postpone Joy”

In one of my favorite chapters in the memoir, Laurey, a new arrival in Asheville, made a birthday dinner for her landlady. A guest found the food so impressive that she encouraged Laurey to start a restaurant. When Laurey brought a batch of freshly-baked Congo Bars as a sample product, the guest said they tasted like paste and sent her away. Laurey kept on baking and opened her café and catering business in 1990 – with Congo Bars on the menu to this day. I admire someone who didn’t let a negative comment deter her, and lived by the motto, “Don’t Postpone Joy.” These two recipes give a sense of Laurey’s personality. The inspiration for the Congo Bars comes from the Café Beaujolais cookbook (Ten Speed Press, 1984).

Laurey’s Pesto Sauce (from A White House Garden Cookbook, Red Rock Press, 2010)

Makes about 1 cup

1 pound fresh basil leaves
1/2 cup pine nuts
1/2 cup grated parmesan cheese
1-2 cloves fresh garlic (optional)
Approximately 1/4 cup olive oil

  1. In a food processor, add the basil leaves and pulse to break them up.
  2. Add the pine nuts, parmesan cheese, and garlic. Pulse until just mixed.
  3. With the motor of the food processor still on, drizzle in the olive oil through the tube in the top just until a thick paste is achieved. Serve with crackers or apple slices.

Laurey’s Congo Bars (from Elsie’s Biscuits, 2006)

Makes 24 bars

14 ounces butter (3 ¾ sticks)
6 large eggs
2 pounds light brown sugar
1 teaspoon salt
1 pound plus 10 ounces all-purpose flour
1 tablespoon baking powder
2 2/3 cups chocolate chips
2 cups chopped walnuts

  1. Preheat the oven to 325 degrees. Grease and flour a baking sheet (18-by-13-by-1-inch).
  2. Melt the butter and set it aside to cool.
  3. Using an electric stand mixer with the paddle attachment, combine the eggs, sugar, and salt, mixing using a low speed until the blend is no longer granular – a couple of minutes.
  4. Add the cooled butter to the egg mixture, keeping the mixer running.
  5. Sift the flour and baking powder together and add to the butter-sugar-egg mixture. Add the chocolate chips and nuts and mix on high for 45 seconds. Spread in the prepared baking pan.
  6. Bake about 35 minutes, but do keep an eye on them the first time, because all ovens are really very different. A toothpick inserted in the center of the pan can still be slightly moist. In my opinion, it is essential not to cook them until they are fully baked. I usually stop them when the edges are almost done. I like them on the underdone side.
  7. Cool (in the pan) on a cooling rack. Cut into 24 bars. Enjoy!
Posted in cookbooks, Food, memoir | Tagged , , , , , , | 2 Comments

Mix-in-the-Pan Brownies From My ‘I Hate to Cook’ Mom

My mom liked to make  no-fuss recipes with my sister, left, and me.

My mom liked to make no-fuss recipes with my sister, left, and me.

As a young mother in the 1960s, my mother never watched Julia Child – or any TV shows, for that matter. She preferred the humor and slap-dash directions in Peg Bracken’s I Hate to Cook Cookbook. This book, inspired by a group of women who called themselves “the Hags,” this 1960 book poked fun at queen bee hostesses and fussy party dishes. From the “Desserts or People Are Too Fat Anyway” chapter, my mother frequently made Cockeyed Cake. My sister and I loved to poke holes in the dry ingredients and pour oil in one, vinegar in another, and vanilla in the third.

I found this Mix-in-The-Pan Brownie recipe in a rubber band-bound bundle that my mother recently handed over. Like my grandmother, she stashed away anything that looked remotely interesting, whether she planned to make it or not. Clipped from a magazine with no date on it, I guess from the 4 cents per serving breakdown and the suggested spearmint leavesgarnish of green gumdrop leaves(!) that this recipe came from the 1960s. It’s a step up from the brownie mix that Pillsbury introduced in 1955, but seems almost as convenient. I was in a hurry to bring something to a party, so it suited my 2014 sensibilities, too.

Everything came together in the baking pan, as promised, but the batter threatened to slosh over the sides when I mixed it. Next time, I’d melt the butter in a saucepan, put the other ingredients in that, and pour the batter into the greased baking pan. Nonetheless, within an hour, my brownies, still warm from the oven, were ready to go and I only had to wash one bowl. That’s the right recipe to inherit from my I Hate to Cook mom.

Mix-in-The-Pan Brownies (circa 1960)Brownies 2

Makes 16 brownies

2/3 cup (11 tablespoons) vegetable shortening or butter (I used butter)
1 cup sugar
2 eggs
1 teaspoon vanilla
1 cup sifted all-purpose flour
1/2 teaspoon baking powder
1/2 teaspoon salt
1/2 cup cocoa powder
1/2 cup chopped walnuts (optional)

  1. Melt shortening in an 8-by-8-by-2-inch baking pan. Stir in the sugar. Cool (about 15 minutes).
  2. Preheat the oven to 350 degrees.
  3. Break the eggs in a small bowl; add vanilla. Beat with a fork until blended. Stir into the sugar mixture in the baking pan.
  4. Measure flour, baking powder, salt and cocoa into a sifter. (Put a plate underneath before you add the ingredients or you will end up with a messy countertop). Sift the mixture into the baking pan. Mix thoroughly with a fork. Add the walnuts, if using, and smooth the top of the batter (with a spatula or the back of a spoon).
  5. Bake 25-30 minutes, until the center springs back when lightly pressed with a fingertip.
  6. Cool on a wire rack. Cut into 16 squares. Decorate with frosting and green gumdrop leaves, if you wish.
Posted in cookbooks, Food, History, memoir | Tagged , , , , | 5 Comments

Canned Peach Salad to “Heighten Appetites and Brighten Meals”

Napoleon's reward for portable food for his army led to the invention of canned goods.

Napoleon’s offer of a reward to anyone who could create portable food for his army led to the invention of canned goods.

Blame the invention of canned food on Napoleon Bonaparte. In 1795, the French general – who proclaimed that “an army marches on its stomach” – offered 12,000 francs to anyone who could come up with a way to provide his troops with portable, non-perishable food. The winner, Frenchman Nicholas Appert, collected the prize in 1809 for his method of heating food and sealing it in airtight glass jars. The following year, Englishman Peter Durand patented a similar technique to preserve food in cans. Then armies – as well as sailors, pioneers, and travelers of all kinds — began to sustain themselves on canned fish, tomatoes, peas, and corn. According to Family Life in Nineteenth Century America, a New York factory produced the first commercially canned peaches in 1819. In 1856, Gail Borden patented condensed milk, which nourished American city dwellers as well as Federal troops during the Civil War, and can still be found today in pantries around the world.

Salad bookFast forward to 1959, the publication date for Good Housekeeping’s Book of Salads, which I bought for 50 cents at a flea market in western New York. Back then, the enlightened public had not yet made a mockery of canned fruits and vegetables. Canned food was considered convenient and modern.

Since I live in an urban area with extensive access to fresh, air-freighted produce, I tend to sneer at canned goods, even though I used to devour the bowls of fruit cocktail for breakfast. So I found myself surprised by my visceral attraction to the summery aroma and beach sunset orange of canned cling peaches in the peach-grapefruit salad recipe I made. Yes, I know fresh fruit contains more nutrients. Yes, I know the canned syrup adds unnecessary sugar. Still, I found the contrast of tart grapefruit sections and sweet peaches, crunchy greens, and a spark of lemon juice just what I needed to chase away the bleakness of three snowstorms in one week.

Grapefruit Peach salad

Good Housekeeping Peach-Grapefruit Salad (1958)

Serves 4-5

About 4 cups salad greens
1 large grapefruit, peeled and cut into sections
1 1/2 cups drained canned peach slices
2 tablespoons salad oil (I used olive oil)
2 teaspoons lemon juice
Dash salt
Dash sugar
Flaked coconut (for garnish)(I used chopped almonds since I didn’t have any coconut)

  1. Place the salad greens on a platter or divide among four serving plates.
  2. On the greens, arrange grapefruit slices alternating with peach sections.
  3. In a small jar, combine the oil, lemon juice, salt and sugar. Cover and shake well to blend.
  4. Just before serving, pour the dressing over the salad. Garnish with coconut or chopped almonds.
Posted in cookbooks, Food, History | Tagged , , , | Leave a comment

Hot Chocolate, Cold Meat, Gingerbread: What Washington Really Ate

Statue of George Washington in the Virginia state capitol

As a schoolgirl, I learned the myth of the cherry tree and visited this statue of George Washington in the Virginia state capitol

For George Washington’s birthday, my mother used to buy a supermarket cake overloaded with pink frosting that stuck to the knife. Never mind that the cherries tasted more of chemicals than fruit. Every bite felt patriotic.

At my elementary school in Richmond, I learned that George Washington, born in Virginia, chopped down his father’s cherry tree when he was a boy. When his father confronted him, George said, “I cannot tell a lie” and ‘fessed up, revealing his sterling character. The only problem with that story? Biographer Parson Weems, who published the Life of Washington in 1800, likely made it up. So much for honesty.

Sketch of young George confessing to chopping down the cherry tree in the 1867 edition of the "Life of Washington" biography

Sketch of young George confessing to chopping down the cherry tree in the 1867 edition of the “Life of Washington” biography

Since the cherry desserts we eat for Washington’s birthday are based on a myth, I decided to look for more accurate information about what our nation’s first President ate. Mount Vernon, his home in Virginia, maintains an authoritative digital encyclopedia about his life. From this, I learned about his household custom of serving hot chocolate and cold meat for breakfast. For dinner, one guest reported on roasted pork, boiled lamb, beef, peas, lettuce, cucumbers, artichokes, puddings and tarts. Towards the end of his life, Washington also operated the largest distillery in America at its time, which kept his guests well supplied with whiskey.

The Mount Vernon Cookbook, published in 1984 by the Mount Vernon Ladies’ Association, the group that has preserved and managed Mount Vernon since 1853, contains a few historic recipes — none featuring cherries. To honor George Washington this year, I made gingerbread, described (aptly) as “a very dark and spicy gingerbread, not sweet.” Mrs. Washington served it with a glass of Madeira or rum or a mint julep. Tea? Not traditional!

Gingerbread

Mount Vernon Gingerbread – circa 1798
(slightly adapted from the recipe in The Mount Vernon Cookbook)

Makes 24 squares

1/2 cup butter
1/2 cup dark brown sugar
1 cup dark molasses
1/2 cup warm milk
2 tablespoons ground ginger
1 heaping teaspoon cinnamon
1 heaping teaspoon mace (see note)
1 heaping teaspoon nutmeg
1/4 cup brandy
3 eggs
3 cups flour
1 teaspoon cream of tartar
Juice and grated rind of 1 large orange
1 teaspoon baking soda
1 cup seedless raisins (optional)

  1. Preheat the oven to 350 degrees. Grease and flour one 9-by-13-inch Pyrex baking dish or two 8 1/2 inch square baking dishes.
  2. Cream together butter and brown sugar until light.
  3. Add the molasses and milk. Mix well.
  4. In a separate bowl, mix together the ginger, cinnamon, mace and nutmeg and stir into the batter. Add the brandy.
  5. In a small bowl, beat the eggs until light and thick.
  6. In another bowl, sift together the flour and cream of tartar. (I just whisked it with a fork).
  7. Stir eggs and flour alternately into the batter. (I added about 1/3 of the eggs, 1/3 of the flour, at a time).
  8. Stir in the orange juice and rind.
  9. Dissolve the baking soda in 1 teaspoon of warm water. Add to the batter and beat until light.
  10. Add raisins, if using.
  11. Bake for 40 to 45 minutes. Let cool in pans. Turn out on a rack to cool completely before cutting into squares.

Note: I didn’t have mace, so I substituted allspice. Mace is made from the membrane of the nutmeg seed; extra nutmeg would have worked, too.

Posted in cookbooks, Food, History, memoir | Tagged , , , , | Leave a comment